I hope you enjoy the cards. I sure enjoyed designing and making them. They were a lot of fun. I will have to edit this later to add the supplies that I used.


 Hi all! I just spent an evening with my BFF, Gina. We had a pizza dinner and a night of crafting in my new craft room! So much fun and much better when I am sharing with someone too. I love my new space. So we decided to make a Steampunk clipboard. We bought a kit at the Scrapbook Expo on Friday. It came with 2 pieces of paper, a small clipboard and some embellishments. however, it was just not quite enough, so of course with all the supplies in my room, we had to add more! LOL Well that's what it's there for, right? We covered the clipboard on the front with a piece of the paper, then cut out the 2nd piece and put it on the top. We added embellishments, some glitter, some rickrack and lace. We cut out some other pieces of the paper and popped them up on the top. Then we turned it over and covered the back with another piece of the paper in our packet. We also cut out flowers and gears and added those as well. I hope you like how it turned out. We sure did and had a good time making them too. I plan on taking mine to work and will see if my crew will take me serious as I walk around with my special clipboard.


 |
| Lillypad Cards |
 |
| I bought this necklace rack at JoAnn's for 50% off to use for my small ribbons. |
 |
| These little spools of ribbon only have 1 ft to 1 yd, so not very much ribbon. |
 |
| I bought these drapery clips at Ikea. Very cheap, I think that I got 50 for a couple of dollars. |
 |
| I folded the ribbon to the right length and clipped on a hook. |
 |
| I have added this to the challenge on Carolyn's Homework |
 | |
Then I hung the ribbon up on the necklace holder. | You Had Me At Craft I have added the ribbon project in the Made it Myself Mondays Challenge. |
 |
| Strictly Homemade I entered this in this challenge. |
 |
| This was my excess big rolls that i hooked onto safety pins, then onto drapery hooks. I clipped them onto a round metal candle holder, which I attached chain to so that I could hang it up. |
 |
| My dad built me this ribbon rack. It is in the extra doorway, to my room. He made it so that I could pull the dowels off, it I need to remove a whole spool. Otherwise, I will just pull of the amount needed and then stick a pin into it. |
 |
| I collected these boxes, because they are a great size, are sturdy and hold quite a bit. I plan on putting pretty paper on each box, but for right now, they are just on the shelf. I have a whole book case of them. I used them to store things like Popsicle sticks, pipe cleaners, beads, etc. All of those craft items that you only need from time to time. |
 |
| I bought these bins, which are the 12x12 size to store all of my scrap booking memorabilia. When I am ready to do a certain trip or occasion, all of the items will be in the bin. |
 |
| This is a gorilla shelf, from Costco. I love it because it holds so much weight. These are my picture bins. Yes, printed pictures long before digital came out. All waiting to be scrapbooked. |
 |
| These are my plastic 8x10 picture frames that I use for project trays. When I make cards, I usually make 12 of the same card, so i do all of the prep work and then put them in the trays for when I want to work on them. |
 |
| A shelf for all of those items, like address labels, business cards, picture paper, etc. |
 |
| This looks messy, but the bins are full of albums and album pages. |
 |
| I was so happy when Michaels put these on sale for $2 each. I store all of my finished cards and more pictures in these boxes. |
 |
| A whole shelf of nothing but magazines and books. Boy I need some time to read! |
 |
| 4 DVD shelves filled with my Stampin' Up stamp kits. |
 |
| 2 more DVD shelves around the corner |
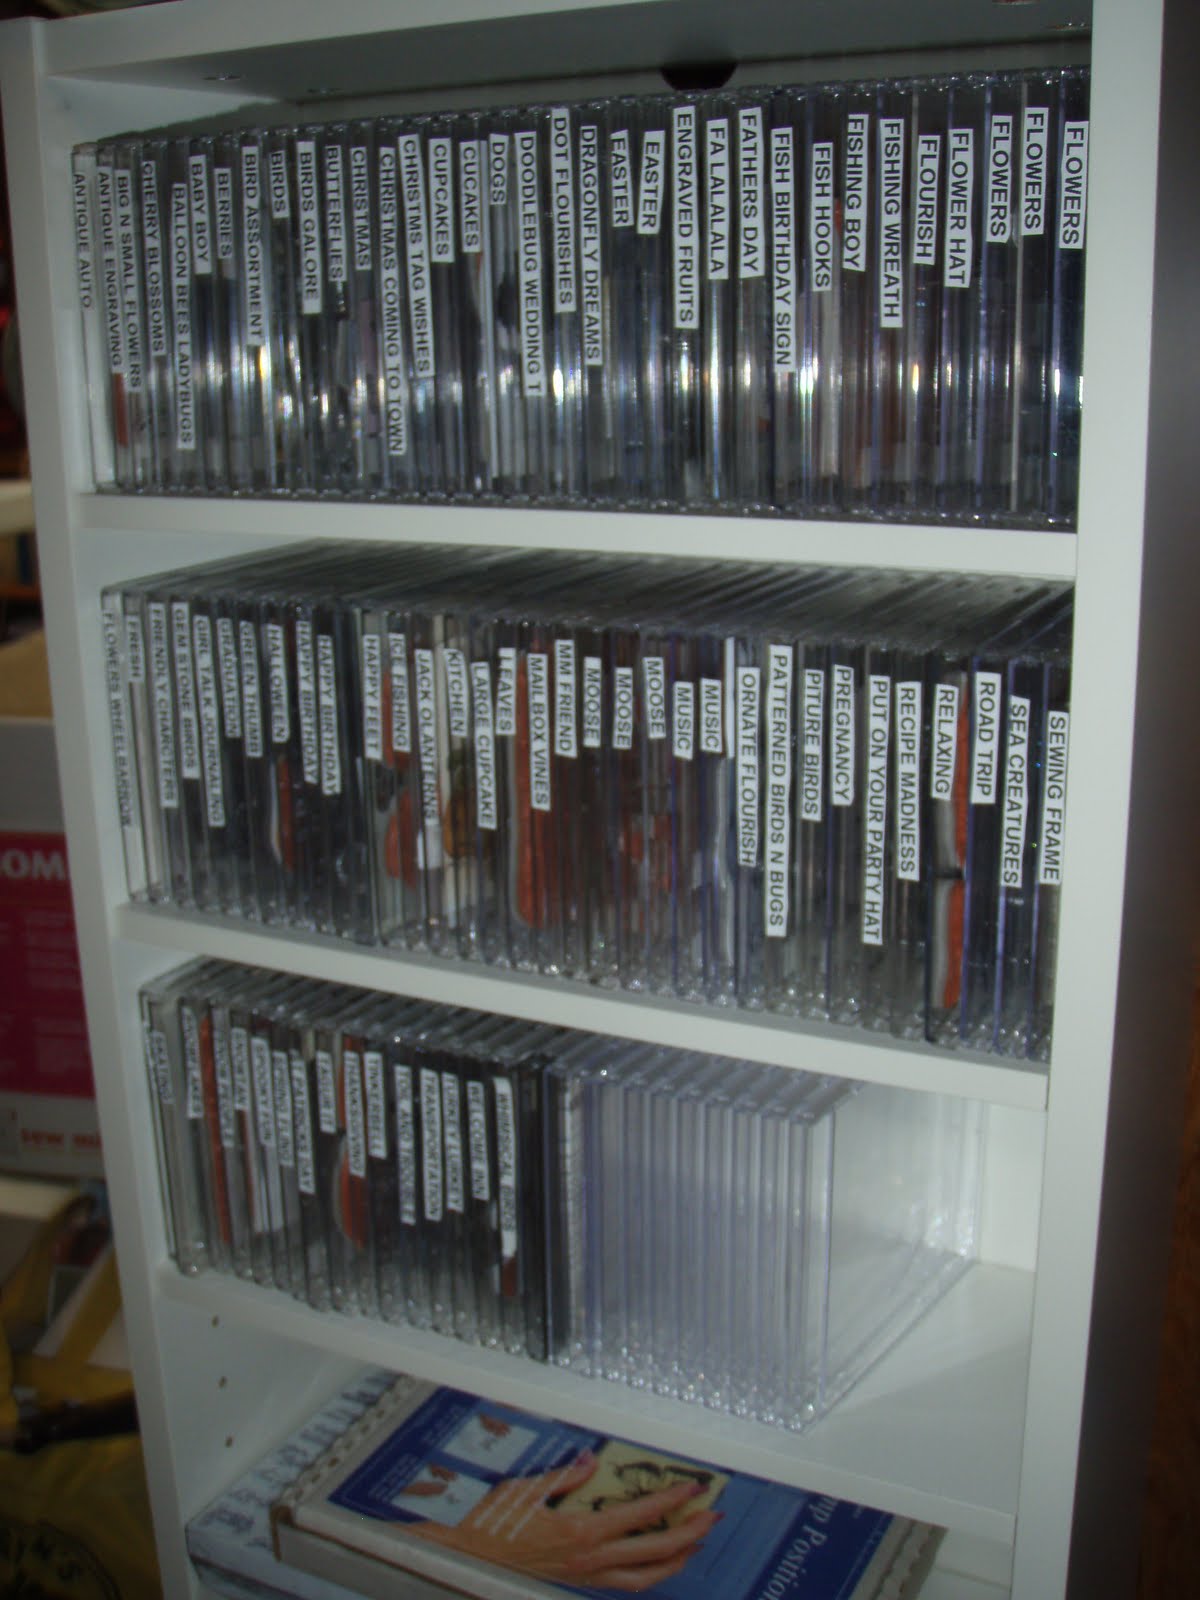 |
| I started putting all of my acrylic stamps into cd holders. |
 |
| This is my embellishment center. I still have to add more shelves in between the jars, but need to cut them still. |
 |
| More embellishment jars. The books are for all of my stamps. I have pictures of all of my stamps and then where to locate them. Since I moved and changed around some stamps, I have a little bit more organizing to do now. Everything is numbered, so I have the stamp kit labeled and can go right to the shelf to get it. |
 |
| Here's the whole wall |
 |
| This is my punch storage. All of these bins on the right and middle are filled with punches. |
 |
| This bin contains all of my glitter, stickles, embossing powders, etc. |
 |
| On the top of my bins I have 2 racks. These are my Graphic 45 papers. My Alice in Wonderland and my new Wizard of Oz. |
 |
| Another view of punch storage |
 |
| My work caddy at the end of my 6 foot sturdy plastic table I got at Costco. |
 |
| This was my original work table. It is now my die cut table, with my Big Shot and Grand Calibur having permanent homes, ready to use at any time. I just love this area. This is so useful! |
 |
| Here is my Cricut station. I love that I can just open it up and turn it on and it is ready to use. |
 |
| I bought the ArtBin Cricut cartridge holders at JoAnn's for 50% off during their sale. However the one with the green tabs, I won on ArtBin's FB page during May. Yippee! Something for free! Also,I have a cabinet that is like the stamp cabinet below, but skinnier that is going here. It will be where my Slice resides (on the top) ready for use, like my Cricut. I purchased a Slice this last year, because I have a couple of friends who own them and we do things together with them. The draw back of it is it only cuts one thing in one place, unlike the Cricut. |
 |
| Here is my Sizzix die cut shelf. Yes, I was into these for many years, long before the Cricut came out. The shelf to the right is where all of my ink is and my 4x6, 6xc6, one 8x8 paper is kept. |
 |
| This is my loose stamp storage unit. It is actually 3 units on top of each other. I love these drawer units. I bought them at Ikea. |
 |
| A drawer opened. Each drawer is a different theme, such as Christmas, outdoors, words, sea, bugs, etc. |
 |
| My 12x12 paper cabinet. I need to organize this so I can find the right paper for the right project. However to get it moved, it just all got shoved in. |
 |
| My 8 1/2 x 11 solid paper storage. I found these paper holders at a couple of thrift stores for $5 each. Great investment. I will be hanging a curtain over the paper though to keep the ends from being faded by sunlight. |
 |
| This is my little trinket, do dad center. All of those small little things that need a home. Under it is my decorative scissors, paper crimpers, paper trimmers, and other useful tools. |
 |
| There are 3 book cases here. The bins on the right are for envelopes. I have sorted them according to size.the middle bins have chip board items in them. The ones on the left contain items like index cards, any kind of paper pad, like post it notes or stationary. On the back side of these shelves are the shelves from above which had the photo boxes, white boxes, and trays on them. There is a small walkway and then the gorilla shelves are on the back wall. I call it my secret library. It is hidden when you walk into the room. To the right and around the corner is the ribbon station. |
 |
| Shoe boxes filled with items like stickers, fun foam, bling, things to add to cards and scrapbooks. |


 "
"


 I Love TheHIVE